Add Package
![]()
![]()
|
Add Package |
|
|
|
|
Adding a package to the load definition file in the Load Definition File editor consists of the following steps:
Step 1
The first step can be done in one of two ways. If this is the first package that will be added to the load definition file then you will want to select the Create New Package task in the PACKAGES task bar along the right side of the load defintion file editor:
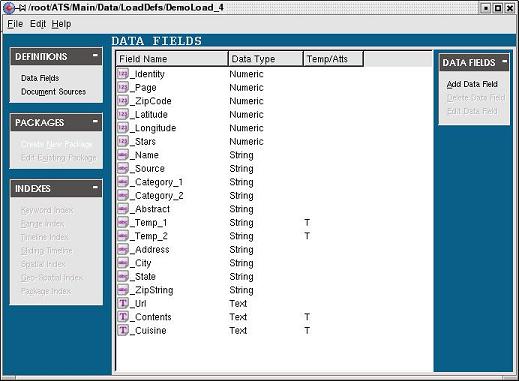
If the Create New Package task is not enabled, be sure you have defined at least one data field. To learn how to add data fields to the load definition file, see the Add Data Field topic of this documentation.
If a package already exists you can still use the Create New Package task or you can select the Edit Existing Package task in the PACKAGES task bar along the left side of the load defintion file editor to activate the PACKAGES page. On the PACKAGES page you can select the Add Package task in the PACKAGES task bar along the right side:

Either of the above methods will cause the Package Name dialog box to appear:

Step 2
The second step is to enter a name for the package that is to be created:
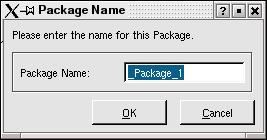
The package name uniquely identifies each package and should be different then any other resource defined. After entering a unique package name click OK button to create the package.
Step 3
If one or more machine access definitions exist in the load definition file you will be prompted with the Select Section dialog box:

Use this dialog box to choose what type of section will be added to this package. Each package is required to have at least one section. If no machine access defintions are defined, the Edit Data File Section dialog box will automatically appear since a document scanning section requires a machine access defintion. To learn more about adding a data file section, see the Add Data File Section topic of this documentation.
Finally, the new package is created:

|
|
|

