Adding Functions
![]()
![]()
|
Adding Functions |
|
|
|
|
Use functions in the logic template to help manipulate string, numeric and attribute data. Functions can be added to the logic template by using the following steps:
Step 1
The first step is to place the cursor in the Logic Template editor where the function is to be inserted and type an underscore followed by an at sign ( _@ ). Every function name begins with an underscore followed by an at sign, e.g. _@MIN.
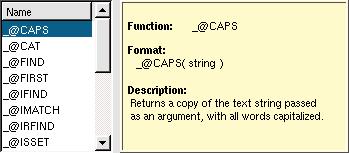
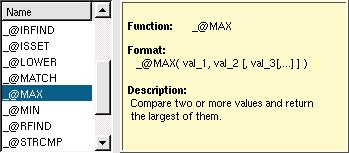
The Functions dialog box will appear:
|
|
The Functions dialog box consists of a list of functions available to use in the logic template along the left side of the dialog box. The right side of the dialog box contains information pertaining to the selected function. |
Note: To close the functions dialog box without inserting a function, simply press the ESC key.
Step 2
The second step is to select the function to be inserted:
|
|
The function can be selected by one of the following ways: 1. If you know the name of the function to be inserted, continue to type the name of function until it becomes highlighted. Press the spacebar or enter key to insert the selected function. 2. Use the mouse to scroll through the list until you locate the function you would like to add. Click the function once to view the information about it or double-click to insert the function. |
Note: You can also use the arrow keys ( up and down ) to browse through the functions list.
Step 3
The third step is to specify the arguments for the function:

The function is inserted into the logic template.
|
|
|