Creating a Load Definition File
![]()
![]()
|
Creating a Load Definition File |
|
|
|
|
After selecting Load Definition from the Create New File dialog box the Load Definition Define Load Name dialog box appears:

Use the Define Load Name Dialog Box to define a unique name and data id for the load definition file.
After defining the Load Name, click the OK button to create the new load definition file. Note: These settings can be changed at anytime after the load definition file has been created. Simply select the Edit menu and choose Load Name... to display this dialog box and edit these settings.
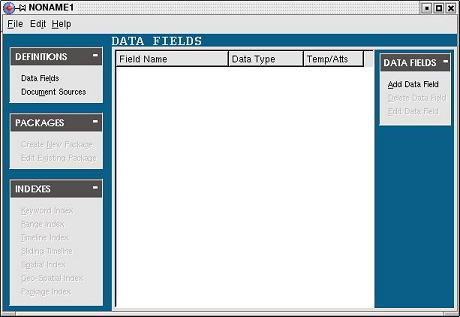
The new load definition file has now been created with the default name NONAME1.
The task bars along the left side of the load definition editor allow you to navigate between different components of the load definition file. Some of the tasks will not be enabled due to their dependancies on other components being defined.
The task bars that appear on the right side as you navigate and define different components of the load definition file are the tasks specific to the component you are currently defining.
The menus at the top of the load definition editor allow you to save the file and edit settings.
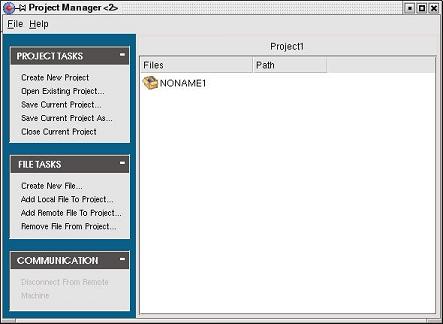
You will also notice the new file has been added to the Project Manager. The entry will not have a path specified until the file has been saved.
After you have created the load definition file, the next step would be to edit the file.
|
|
|

